
So, if you have been following my blog, you know that I enjoy our weekly color challenges and try to do them as often as I can. (Lately, not so much)... Anyway, the challenges have really helped me to be a more creative stamper. They take me out of my comfort zone sometimes and really make me think out of the box. So, I have now started posting a new challenge for my group called(for now), the Creative Challenge! This challenge will be just about anything goes! This week it is to use Decor Elements on anything but the walls! There are so many uses for these things!! See this post for my Countdown to Christmas board.
 Now here is my newest creation! This one was a little more involved! I used the bulk Decor Element vinyl that Stampin' Up! sells along with my Sizzix Big Shot.
 The Trifle bowl, I found at Walmart. It was about $8.00 or so. I used the Santa and Sleigh Decor Element in Real Red. This is the small one.
Quick Note: Be careful when putting this on this bowl. Try to work from the middle out to the edges. Otherwise, it may not lay right and may go off the edge.
 Next, I cut out some little snowflakes with my Big shot and the Bulk vinyl. Although not hard, I had a little trouble with the Sizzlits cutting all the way through the Vinyl and had to get out my Hobby Blade to help with some of the smaller areas. I will tell you a little more about that in a minute!!
Here is another picture from the back with a little more detail on the snowflakes. Also, I added a piece of Real Red 5/8" grosgrain ribbon on the bottom for a bow and to dress it up a bit!

I made this second one, that I used my Shims. What are Shims, you ask?? Well, these are very thin pieces of plastic that come with the Premium Crease pad. They help to give the dies a little more resistance when going through the machine so you get better cuts. I find this especially helpful with the more detailed dies.
On this bowl, I used some of the striped ribbon from the Holiday Mini to make the bow.
Keep in mind that you can order of the products I used here by going to my website and clicking "Shop Now" in the top right corner.
Enjoy!


.jpg)
.jpg)
.jpg)
.jpg)
.jpg)

.jpg)
.jpg)
.jpg)
.jpg)
.jpg)


.jpg)


.jpg)

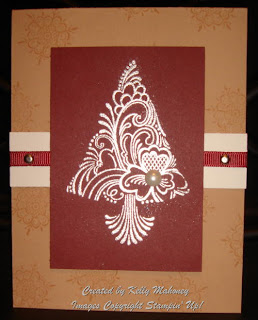
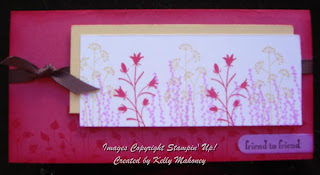
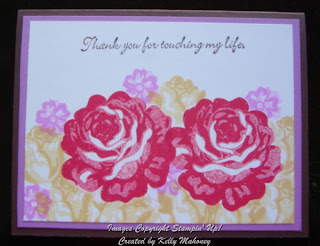
.jpg) This first one was inspired by a card we saw at Convention! I really love the stipple look of the image that you get when you use the sponge daubers to add several colors to it. This is a 4x4 card!
This first one was inspired by a card we saw at Convention! I really love the stipple look of the image that you get when you use the sponge daubers to add several colors to it. This is a 4x4 card!.jpg)
 111690 Snow Swirled $21.21
.jpg)
.jpg)
.jpg)
.jpg)


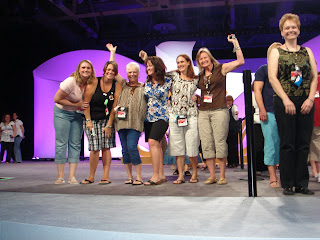 That is me on the far left. Next is Traci, Marlene, Alex, Jen and Stephanie. This was a very exciting moment for us! It is so much fun to have such a great group of women to spend time with and celebrate with!!!